Collection enables you to save metadata objects of interest from your model in a collection of objects. For example, if you want to keep track of an attribute, email, and all related objects in your model, you can create a collection of all such attributes and related objects. You can share collections with your team members and collaborate to add objects to them.
Creating collections involves:
To create collections, follow these steps:
-
Go to Application Menu > Collection.
The Collections page appears.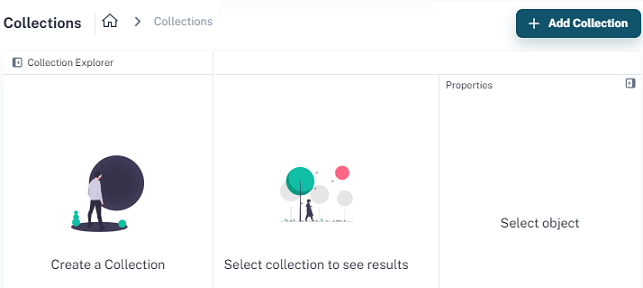
-
Click Add Collection.
The Add Collection section appears.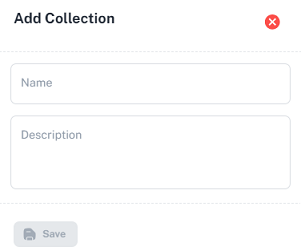
-
Enter the Name and Description of the collection.
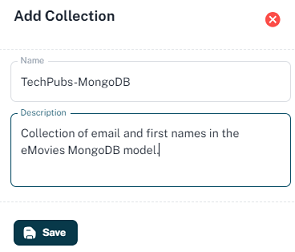
-
Click Save.
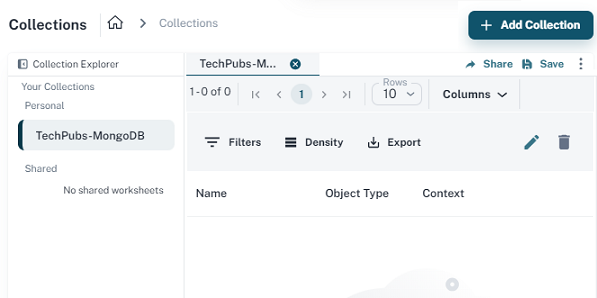
An empty collection is created. You can now add objects to the collection.
To add objects to collections, follow these steps:
-
In the Collection Explorer, select the required collection and click
 .
.The collection opens in edit mode.
-
Click
 .
.
The Add Collection Objects page opens.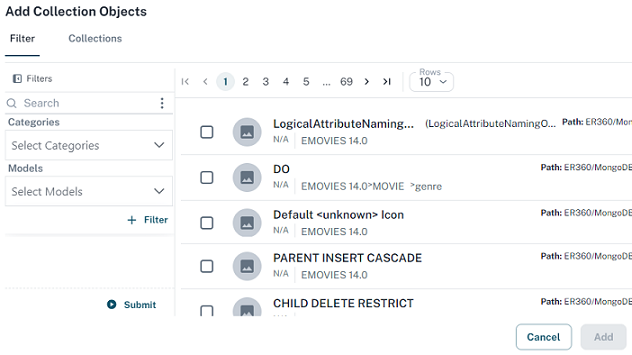
It has the following sections:
-
Filter options to search for objects based on selected criteria
-
Collections list to select objects from other collections to add to the current collection
-
List of objects
-
-
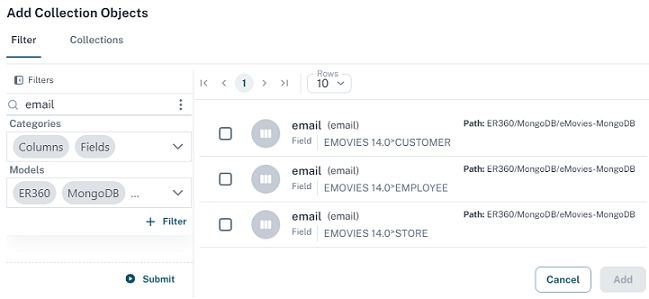
Under Filters, in the Search box, enter the object name that you want to add to the collection.
-
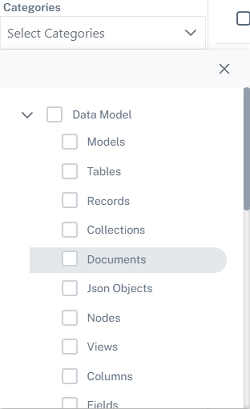
Under Categories, select the type of object.
-
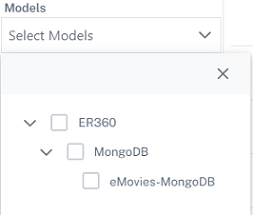
Under Models, select the models in which you want to search for objects.
-
Click Submit.
Based on the Search input, category, and model that you configured, search results are displayed.
-
Select the objects that you want to add to the collection and click Add.
The selected objects are added to your collection.
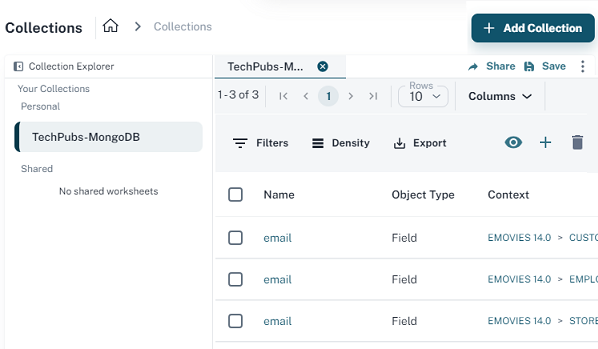
The object name and path are linked to the object and the respective model/table. You can click the links to navigate to the Metadata browser and view them. Selecting any object in the collection list displays its properties in the Properties pane.
You can also export the collection to a CSV file or print it.
Alternatively, you can also add objects to collections via the Metadata browser.
To add objects to collections via Metadata browser, follow these steps:
-
Go to Application Menu > Browse.
The Metadata page appears.
-
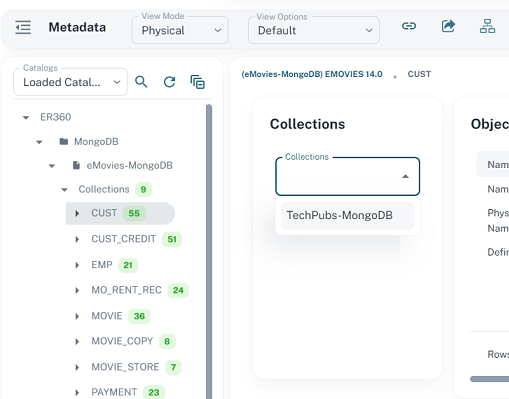
In the catalogs tree, select the object that you want to add to a collection.
-
Then, under Collections, select the collection to which you want to add the object.
-
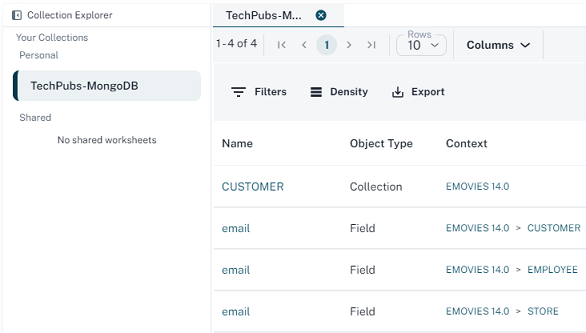
Navigate to the Collection module and select your collection.
The Customer object is added to your collection.
You can also add objects from one collection to another. To do so, follow these steps:
-
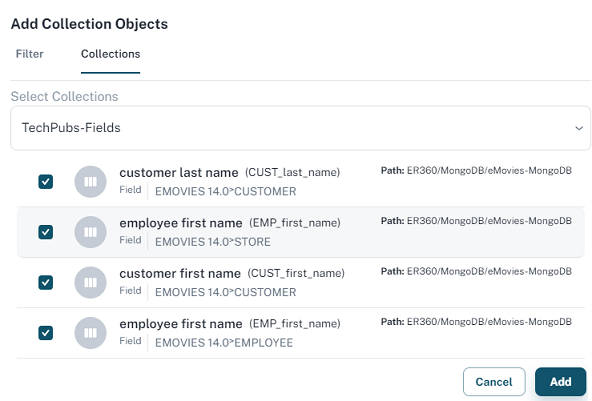
On the Add Collection Objects page, click the Collections tab.
-
Under Select Collections, select the collection from which you want to add objects.
A list of objects in the selected collections appears.
-
Select the required objects and click Add.
The objects from the selected collection are added to your collection.
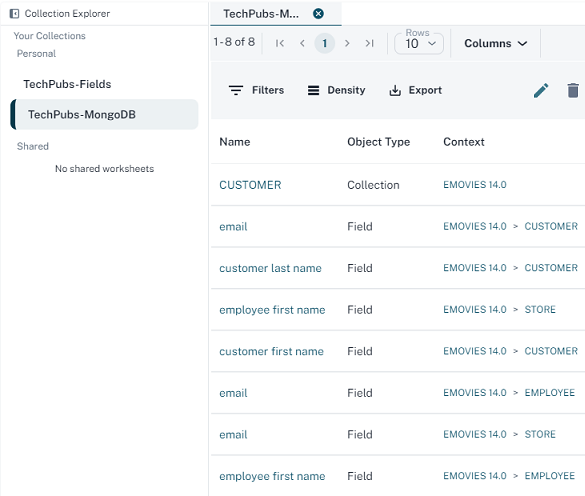
You can share your collection with your team members for collaboration. They can then add, edit, or view your collection.
To share collections, follow these steps:
-
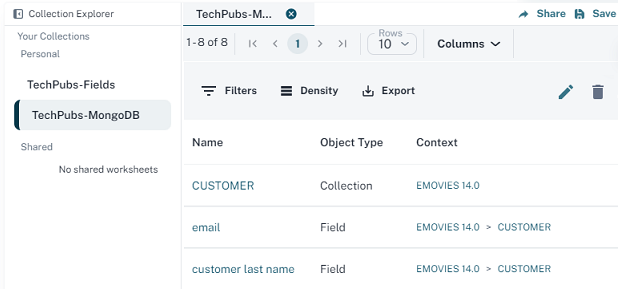
Open your collection.
-
Click Share.
The Share Collection section appears.
-
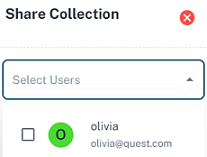
Click Select Users.
-
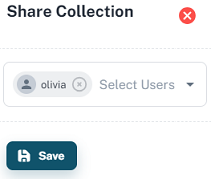
Select your team members.
-
Click Save.
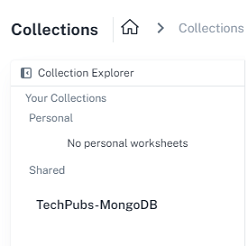
The shared collection appears under Collection Explorer > Shared section for your team members.
|
Copyright © 2025 Quest Software, Inc. |